A successful underground fire line project is built on a foundation of smart, meticulous planning—long before any dirt is moved. This isn't just about digging a trench; it's about systematically eliminating risks and setting the stage for a safe, compliant, and on-budget installation.
Pre-Excavation and Project Planning
Before a single shovel hits the ground, the success of your underground fire line and backflow installation is already being decided. This crucial planning phase is where you prevent dangerous mistakes, costly rework, and frustrating delays. It's less about brute force and more about strategic preparation.
A detailed site assessment is your first line of defense against hidden surprises. You have to walk the site. This is where experience really pays off, allowing you to spot potential obstacles that civil plans might miss—things like overhead power lines, tricky access points for equipment, or poor soil conditions that could turn a simple excavation into a major headache.
Interpreting Plans and Verifying Codes
Your primary guide is the set of civil engineering plans. These documents lay out the exact route of the new fire line, specify the required pipe materials—whether it’s ductile iron or C900 PVC—and pinpoint the locations for critical components like valves and the backflow assembly.
But here's a pro tip: never assume the plans are the final word.
An approved plan from an engineer doesn't automatically equal a permit from the fire marshal. Always verify trench depth, pipe material, and backflow device requirements directly with the Authority Having Jurisdiction (AHJ) to avoid failed inspections.
It’s a surprisingly common mistake. Local fire marshals or water departments often have their own specific amendments to national standards like those from the NFPA. A quick call to the AHJ can save you from a costly failed inspection down the road.
The Critical Utility Locate Process
The most immediate danger in any excavation project is striking a buried utility line. The consequences are severe, ranging from simple service outages to life-threatening gas line explosions. Globally, utility strikes during underground construction projects cost over $100 billion in damages, a staggering figure often caused by inaccurate maps and the challenge of real-time detection for excavators. The Utility Expo offers more insights into the risks associated with digging.
This is why the "Call Before You Dig" service (811) is an absolute, non-negotiable requirement. A professional crew will take this a step further:
- Potholing: We carefully dig small, targeted test holes by hand to visually confirm the exact depth and location of marked utilities. This removes all guesswork.
- Private Locating: We often hire a specialized service to find lines that the public 811 system won't mark, such as private electrical feeds to outbuildings or existing irrigation lines.
Before the first scoop of dirt is lifted, a thorough checklist ensures every safety and logistical detail is covered. This isn't just paperwork; it's the blueprint for a safe and efficient excavation.
Pre-Excavation Planning Checklist
| Checklist Item | Purpose | Key Consideration |
|---|---|---|
| 811 Ticket Confirmation | Verify all public utilities have been marked. | Is the ticket still active? Have all member utilities responded? |
| Private Locate Completion | Identify and mark non-public utilities (e.g., irrigation, private power). | Are there any structures on the property not served by public mains? |
| Site Walk-Through | Identify physical obstacles not on the plans. | Check for overhead lines, access issues, and surface hazards. |
| AHJ Code Verification | Confirm local requirements with the Fire Marshal/Water Dept. | Do local codes specify a certain pipe material or burial depth? |
| Potholing Key Crossings | Visually confirm the depth of critical buried lines. | Mark depths clearly to guide the excavator operator. |
| Equipment & Spoil Plan | Plan where the excavator will operate and where excavated dirt will be stored. | Ensure spoil piles won't block access or create a hazard. |
This due diligence is essential for maintaining a safe work site and preventing catastrophic accidents. For those managing projects in California's Central Coast, understanding the scope of professional underground fire line services is the key to a smooth, compliant, and professionally managed installation. Proper planning isn't just a step in the process—it's the mark of a true professional.
Mastering Safe and Compliant Trench Excavation
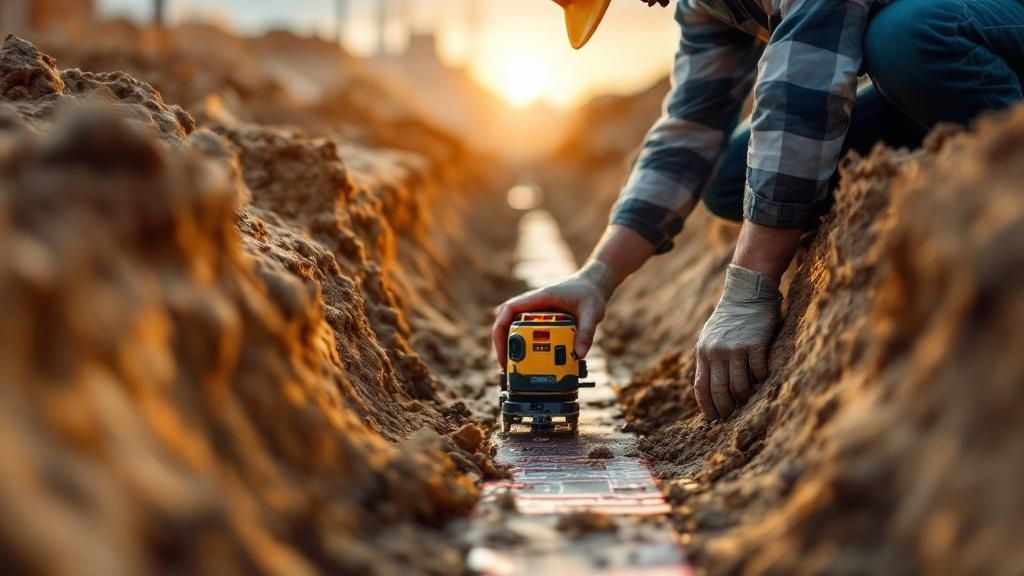
With the plans finalized and the utility lines clearly marked, it's time to break ground. This part of the job is much more than just digging a ditch; it's about carefully engineering a temporary workspace that meets stringent safety codes. Your goal is to create a stable trench that allows for a smooth pipe installation while keeping your crew safe from the very real danger of a collapse.
The risks here are no joke. Trenching is one of the most hazardous jobs in construction. Between 2014 and 2017, the number of trenching-related fatalities in the U.S. swung wildly, from 10 up to 33 before settling at 19—still nearly double where it started. A huge part of the problem comes down to OSHA noncompliance, often made worse by weak enforcement. You can read the full analysis on trenching fatalities and their causes to get a better sense of just how serious these risks are.
Choosing the Right Excavation Technique
How you dig depends almost entirely on the ground you're working with. A technique that's perfect for stable clay could be a disaster in loose sand. While a seasoned operator can often get a "feel" for the soil through their machine, OSHA requires a formal soil classification by a competent person for any trench deeper than five feet.
- Type A Soil: Think cohesive soils, like clay or silty clay. This is the most stable stuff, allowing for nearly vertical trench walls if conditions are right.
- Type B Soil: This includes less stable materials like angular gravel or silt. These soils need gentler sloping or a solid shoring system.
- Type C Soil: This is the least stable category. It includes granular soils like sand and gravel, or any soil with water seeping into it. You'll need significant protective measures here.
Knowing these classifications is the foundation for choosing the right protective system—whether that’s sloping, benching, or shoring.
Implementing Protective Systems
For any trench 5 feet or deeper, OSHA is crystal clear: a protective system is mandatory. Push that depth to 20 feet or more, and that system must be designed by a registered professional engineer. When it comes to the safety of your crew, there are absolutely no shortcuts.
The most common and dangerous mistake I see on job sites is a crew hopping into a six-foot trench "just for a minute" without any protection. A trench can collapse in an instant. That minute is all it takes for a fatal accident.
The primary protective systems you'll rely on are:
- Sloping or Benching: This involves cutting the trench walls back at an angle. The exact angle depends entirely on the soil type—the looser the soil, the flatter the slope.
- Shoring: This is an active system. You're using supports like hydraulic jacks, timbers, or heavy plates to physically prevent the trench walls from caving in.
- Shielding (Trench Boxes): Unlike shoring, a shield doesn't stop a collapse, but it's built to protect workers if one happens. It's essentially a heavy-duty metal box that your crew works inside.
Don’t forget about getting out. A ladder or other means of egress must be located within 25 feet of every worker in any trench that's four feet or deeper. This gives everyone a quick and clear path to safety. For a closer look at California-specific regulations, our guide on safe and efficient PG&E-approved trenching provides some valuable local insights. Nailing this part of the process protects your team and keeps your project moving forward without any tragic delays.
Laying and Securing the Fire Line Piping
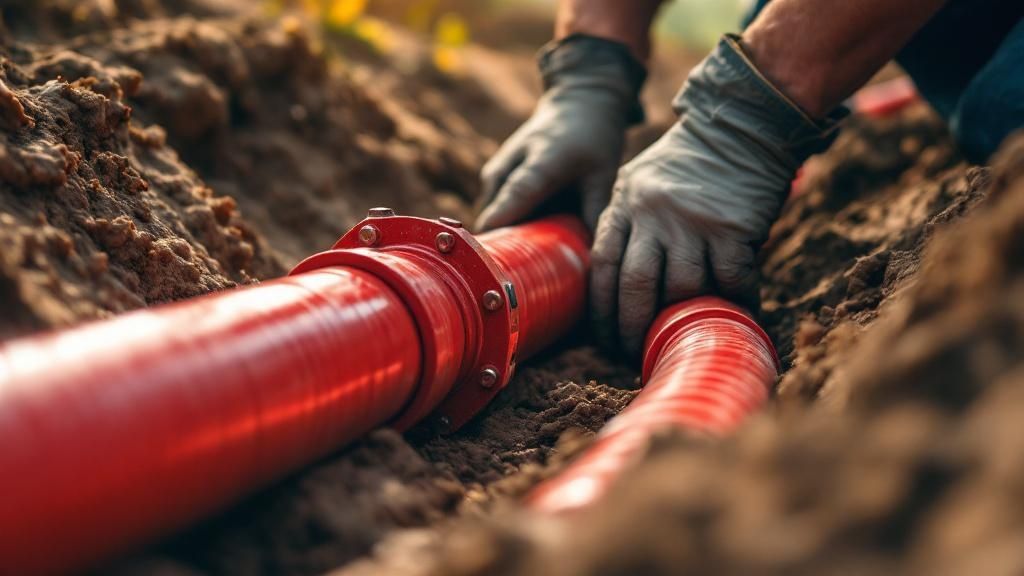
Now that your trench is dug safely and to code, it's time to get to the heart of the system: the fire line itself. This is where attention to detail really pays off. The work you do here is what prevents catastrophic failures years down the road, and it all starts with a proper foundation for the pipe.
Before any pipe touches the ground, you need to lay a bed of clean, stable material. We typically use sand or pea gravel to create a cushion that’s 4 to 6 inches deep. This bedding protects the pipe from sharp rocks or debris left in the trench, which could easily cause a fracture or abrasion over time. Trust me, you never want to lay pipe directly onto a hard, rocky trench bottom.
Handling and Placing the Pipe
How you handle the pipe depends entirely on the material. If you’re working with C900 PVC, it’s lighter but you have to be careful about scratches. Ductile iron, on the other hand, is a beast—it's tough but heavy, and you'll absolutely need machinery to lower it into place. Either way, always inspect every single pipe section for damage before it goes into the ground.
Once you start lowering sections, the joining process has to be perfect. There's no room for "good enough" here.
- Keep It Clean: Make sure the bell and spigot ends of the pipe are spotless. The smallest bit of dirt or grit can mess up the gasket seal and cause a failed pressure test.
- Use the Right Lube: Only use the manufacturer-approved lubricant for the gasket. I've seen crews try to use dish soap or something else in a pinch, and it can degrade the rubber seal over time, leading to leaks.
- Align It Perfectly: The pipe sections have to be dead straight before you push them together. If you try to force a connection at an angle, you’ll roll or pinch the gasket, and you've just created a leak.
This step-by-step assembly is what ensures you have a watertight system that can handle the intense pressure it will be under.
I can't stress this enough: a single bad gasket can force you to dig up the entire line to find one tiny leak. That means re-excavating, re-bedding, and re-testing, all of which costs a ton of time and money. Do it right the first time.
Securing the System for the Long Haul
Once the pipe is connected, a couple more steps are essential for the system’s integrity. First, you have to run a tracer wire. This is simply an insulated copper wire that you lay right on top of the pipe for the full length of the run. Since PVC is non-metallic, this wire is the only way a utility locator will be able to find the line in the future without just guessing.
Second, and this is non-negotiable, you must install thrust blocks. Water rushing through a fire line, especially at fittings like bends, tees, and hydrants, creates a massive amount of force. We’re talking thousands of pounds of pressure trying to blow the joints apart.
Thrust blocks are basically concrete forms poured behind these fittings. They work by transferring all that dynamic force into the solid, undisturbed soil of the trench wall. Without them, a pressure surge during an emergency could cause a joint to separate, leading to a complete system failure right when it's needed most. Your engineering plans will show the exact size and placement for every block, and you have to follow those specs to the letter to pass inspection. This is the crucial groundwork for the final stages of the underground fire line trenching and backflow installation.
Getting the Backflow Preventer Installed and Tested
Now that your fire line piping is laid in the trench, it's time to install the system's most important safeguard: the backflow preventer. This isn't just another component; it's the absolute last line of defense protecting the clean public water supply from any potential contamination. Getting this part right isn’t just good practice—it's a matter of public health and is non-negotiable.
For most fire sprinkler systems, you'll be installing a Reduced Pressure Zone (RPZ) backflow assembly. This is considered the gold standard for protection. When you're positioning it, think about the future. That device needs to be tested every single year, and eventually, it will need to be repaired or even replaced. Shoving it into a cramped, awkward space will only cause major headaches down the road. You have to leave plenty of room around the assembly so a technician can easily hook up their test kit and work on it.
Assembling the Backflow Device
Putting the assembly together requires precision. You'll need to install an isolation valve on both the inlet and outlet sides of the RPZ. Typically, these are OS&Y (Outside Stem and Yoke) gate valves, which allow the entire assembly to be shut off from the rest of the system for service without cutting water elsewhere.
Height is another critical detail. The bottom of the RPZ assembly must sit at least 12 inches above the ground or the floor of its vault. This elevation is mandatory; it ensures the device's relief valve maintains a proper air gap, which is essential to prevent a cross-connection if the area ever floods.
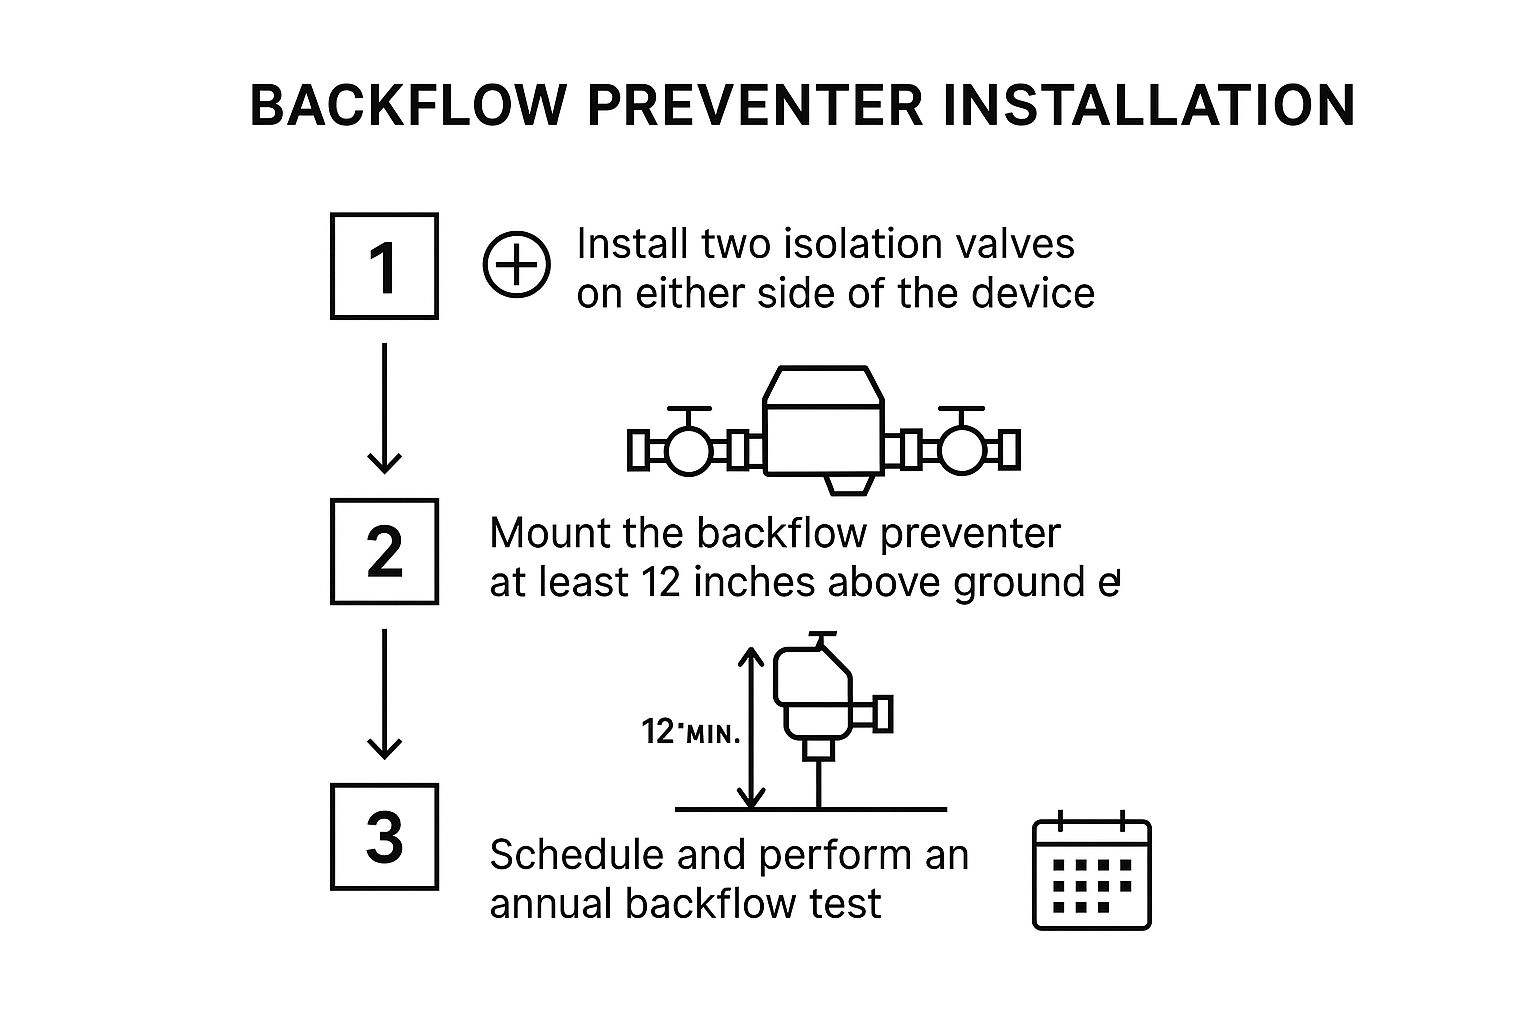
Following this sequence helps ensure your installation is fully compliant, easy to maintain, and ready for those required annual inspections.
The Pressure Test and Final Inspection
With everything assembled—from the city water main tap right through to the backflow preventer—you've reached the moment of truth. The hydrostatic pressure test is where your work gets proven. It's what confirms the integrity of the entire system.
The standard test involves pressurizing the line to 200 PSI for two hours, though you should always confirm the exact requirements with the local fire marshal. During that two-hour window, the pressure gauge cannot move. Not even a fraction. A drop of just 1 PSI is an automatic fail, signaling a leak you'll have to find and fix.
The fire inspector will be on-site to witness this test, keeping a close eye on that gauge. Passing it is a huge milestone.
After a successful pressure test, the inspector will then require a certified technician to perform an operational test on the backflow preventer itself. Using a specialized test kit, the technician will verify that the internal check valves and the relief valve all work exactly as they're designed to.
All the results are logged on an official report, which is then sent to the local water authority to keep on file. Proper backflow prevention in Monterey or Santa Cruz County demands not just a perfect installation but also flawless documentation to stay compliant.
Once the inspector gives you the sign-off on both the pressure test and the backflow operational report, you finally have the green light to start backfilling the trench.
Backfilling The Trench And Restoring The Site
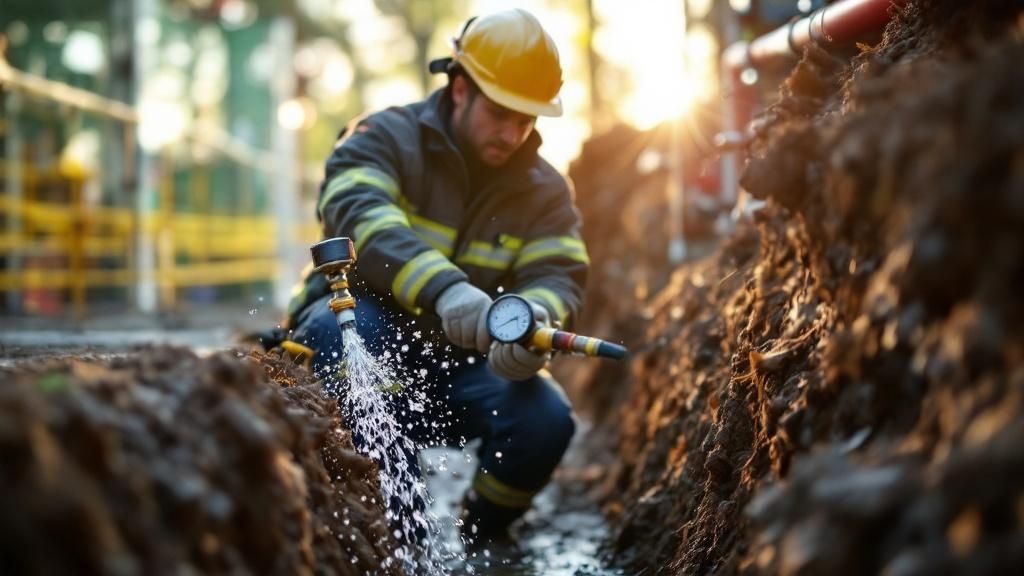
Alright, your fire line has passed its pressure test and gotten the green light from the inspector. Now for the final, and equally critical, phase: putting everything back together. It’s tempting to rush through this last step, but how you backfill the trench and clean up the site is what separates a professional job from an amateur one.
Getting this wrong isn't just about looks. Improper backfilling can lead to serious problems down the road, like the ground sinking and forming hazardous dips, or even worse, creating stress points that could cause the pipe to fail years later. This is where precision and patience really pay off.
The Right Way To Backfill
You can't just shove all the excavated dirt back into the trench and call it a day. Backfilling is a deliberate, multi-step process that starts with protecting the pipe itself.
The material immediately surrounding the new pipe is crucial. We call this first layer the pipe haunching and bedding. You should use clean sand or fine gravel, carefully working it underneath and around the sides of the pipe. This creates a soft, protective cradle, ensuring there are no air gaps or rocks pressing against the line.
With the pipe safely cushioned, you can start adding the original soil back. The key is to do it in thin, manageable layers, or what we call lifts. Each lift should be about 8 to 12 inches thick. After you add a lift, you have to compact it thoroughly with mechanical equipment until it reaches the required density—usually around 95% of its natural, undisturbed state. This methodical process is what prevents future settling.
A seasoned pro knows that good compaction is the foundation of a lasting installation. You’re not just filling a hole; you’re rebuilding the ground to be as strong as, or stronger than, it was before you started. This protects the pipe below and whatever is built on the surface above, from driveways to landscaping.
If you used any trench shoring, you’ll need to pull it out gradually as you backfill. Removing it all at once can cause a mini-cave-in, creating voids and compromising your compaction work. For those interested in the finer details, learning about professional backfilling services for pipelines in Monterey can offer a deeper appreciation for the techniques involved.
Leaving The Site Better Than You Found It
The job isn’t done until the site is fully restored. This is your final signature on the project, and it leaves a lasting impression.
A complete site restoration involves a few key tasks:
- Pavement and Concrete Repair: Any asphalt or concrete you had to cut through needs to be patched correctly. This means clean-cutting the edges, applying a sticky tack coat for proper bonding, and then laying and compacting new material to create a smooth, seamless repair.
- Landscape Restoration: For disturbed turf or garden areas, you'll need to regrade the surface with fresh topsoil. Depending on the client's preference and the season, you’ll either spread grass seed or lay down new sod.
- Final Sweep: The last thing to do is a thorough cleanup. All leftover materials, debris, and equipment must be removed, leaving the area looking neat and tidy.
Common Questions on Fire Line Installations
Even with the best plans laid out, you're bound to run into questions and on-the-ground challenges during an underground fire line and backflow installation. It’s just the nature of the work. Getting solid answers ahead of time is what separates a smooth project from a costly one riddled with delays. Let's walk through some of the most common issues we see crews facing in the field.
Why Did My Fire Line Inspection Fail?
This is probably the most frequent call we get. When an inspection fails, it almost always boils down to one of three culprits:
- Incorrect Thrust Blocking: Any bends or fittings that aren't properly braced with concrete are practically guaranteed to fail when put under pressure. It's a non-negotiable step.
- Wrong Trench Depth: A trench that's too shallow is a major red flag. It leaves the entire system vulnerable to freezing or getting crushed by surface loads.
- Failed Hydrostatic Pressure Test: Even a pinhole leak from a joint that wasn't perfectly sealed will cause the pressure gauge to drop during the test. That's an automatic failure, right there.
If you want to pass your inspection the first time, you need to be meticulous about these three areas. They're the fundamentals that everything else is built on.
Understanding Key Compliance Details
Another area that trips people up is the specific depth required for the trench. You’ll hear a rule of thumb about burying the pipe top at least one foot below the local frost line, but that's just a starting point. It’s not a universal code.
You must always confirm the specific depth requirement with your local fire marshal and building department. These depths can, and do, vary significantly from one jurisdiction to the next.
A critical mistake is just grabbing any backflow preventer off the shelf. Fire sprinkler systems are considered a high-hazard application. That means a Reduced Pressure Zone (RPZ) backflow assembly is almost always mandatory to provide maximum protection for the public water supply. Get the required model in writing from the local water authority before you even think about ordering or installing it.
Getting these specifics right underscores the need for deep local knowledge. To get a better handle on how all these systems work together, you can learn more about comprehensive underground utility services that cover the entire process, from digging the trench to making the final connections. Having that bigger picture helps ensure every part of your project is up to code.
At Coastal Pipeline Inc., we navigate the complexities of fire line and backflow installations so you don't have to. For expert service on the Central Coast, visit us at https://coastalpipelineinc.com.