Should you pave or resurface your driveway or parking lot? The answer is usually in the health of your pavement's foundation. If you have a solid base, resurfacing is a great, low-cost way to get a brand-new look. But if that foundation is bad, a full paving replacement is the only real long-term fix.
Paving vs Resurfacing: Which is Right for You?
Think of it like this: does your house have a cracked foundation, or do the walls just need a fresh coat of paint? Paving is like a major home renovation. It fixes deep, structural problems. Resurfacing is like a facelift that fixes surface issues and protects the solid structure underneath.
The choice you make will affect your budget, how long the project takes, and how many years you'll get out of the new surface.
It all starts with a close look at your current asphalt. Once you know what to look for, the pavement itself will tell you what it needs. This is the key to choosing the best and most affordable option for your property.
When Full Asphalt Paving is Necessary
Full asphalt paving is the heavy-duty option. This means we tear out the old, failing asphalt and usually the crushed rock base under it. Then, we build everything back up from scratch. This includes a new foundation of rock that's graded and packed down, followed by fresh, hot layers of new asphalt.
You’ll want to choose this option when you see clear signs that the whole system is failing from the ground up.
- Deep “Alligator” Cracking: If your pavement is covered in a web of cracks that look like an alligator's back, that’s a red flag. It’s a classic sign the base layer has failed and can't support traffic anymore.
- Potholes That Keep Coming Back: Do you patch the same pothole over and over? That’s not a surface problem. It means the ground underneath is weak and unstable, pushing the problem back up through your patch.
- Serious Drainage Issues: Puddles that stay for days or standing water along the edges tell you the original slope is wrong. The only way to truly fix drainage is to tear it all out and re-grade the whole area.
- Crumbling Edges & Spongy Spots: When the edges of your pavement are breaking apart or you feel a soft, spongy spot when you walk on it, you have serious water damage that has weakened the foundation.
A strong foundation is everything. Without a stable, well-packed base, any new surface you put on top is just a temporary bandage. It is guaranteed to fail, often much sooner than you’d think.
When Resurfacing Is the Smart Choice
Resurfacing, also called an overlay, is a much simpler process. We apply a fresh layer of hot asphalt, usually 1.5 to 2 inches thick, right on top of your existing pavement. Of course, we don't just pave over problems. First, we clean the surface well and take care of any small repairs, like filling cracks.
This is the perfect solution when your foundation is still in great shape, but the top layer is old and worn. Look for these signs:
- Surface-Level Cracks: We can easily seal small, single cracks that haven’t started to spread across the whole area before we apply the new layer.
- Faded, Gray Look: Years of sun will damage asphalt, turning it from a rich black to a dull gray. Resurfacing brings back that fresh, clean look right away.
- Minor Surface Problems: Small dips, rough patches, or other flaws that don't point to a base failure can be smoothed over with a new asphalt overlay.
Deciding between these two options is a common problem for property owners. The global asphalt market, which was recently valued at around USD 65.9 billion, is expected to grow to USD 83.35 billion by 2030. This shows how much people all over the world need strong, well-kept surfaces like yours. If you want to learn more, you can read the full research on the global asphalt market.
And if you’re still thinking about what material to use, our guide on asphalt vs. pavers can help you decide.
Choosing Between Paving and Resurfacing
Still not sure? This table breaks down the most common pavement problems to help you quickly figure out the best choice.
| Pavement Condition | Best Solution | Reason Why |
|---|---|---|
| Widespread alligator cracking | Full Paving | This shows a failed base layer that an overlay can't fix. |
| Faded color, minor surface cracks | Resurfacing | The foundation is likely fine; only the top layer needs to be redone. |
| Large, returning potholes | Full Paving | The problem is in the sub-base, not just the surface asphalt. |
| Poor drainage, standing water | Full Paving | The area needs to be completely re-graded so water can run off. |
| Surface is generally solid but aging | Resurfacing | A new layer makes stable pavement last longer and look better. |
In the end, having a professional look at it is the best way to be sure. But by understanding these key differences, you're already one step closer to making a smart choice for your property.
The Paving and Resurfacing Process Explained
Have you ever wondered what really happens during an asphalt project? It’s much more than just laying down blacktop. It's a careful process, and understanding the steps helps you see the difference between a quick patch job and a surface built to last.
Think of it like building a house. You wouldn't put up walls without first pouring a solid foundation. The same idea applies here. Every step, from tearing out the old pavement to the final pass of the roller, builds on the one before it. A perfect finish depends on getting each of those early steps right.
Let's walk through what a professional paving or resurfacing job looks like from start to finish.
The infographic below shows the basic approach: it all starts with a good assessment, which leads to the right solution and a quality installation.
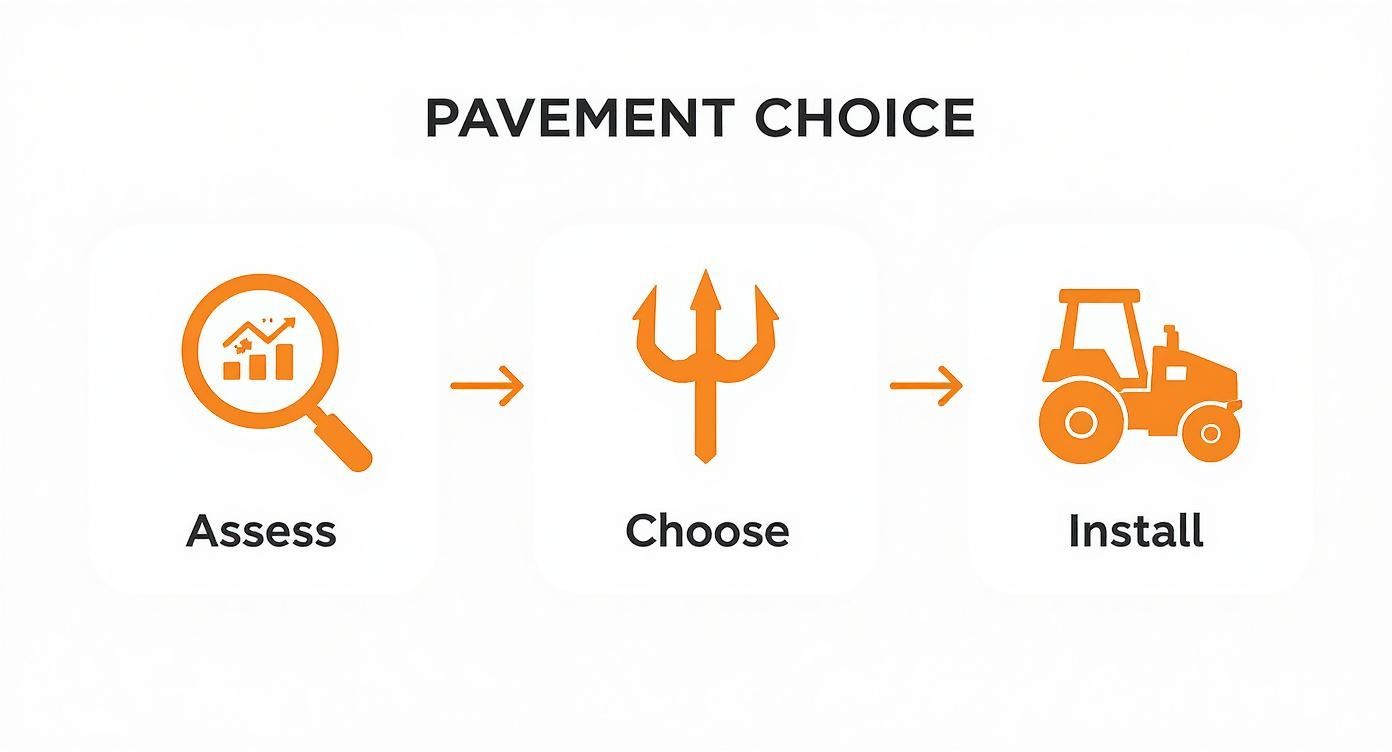
This shows an important truth in our industry: you can't choose the right fix until you've figured out the problem.
Step 1: Demolition and Removal
Before new asphalt goes down, the old, failing surface has to go. This isn't just a simple scrape-off. We bring in heavy equipment—like milling machines or powerful loaders—to break apart and haul away the bad pavement. We go all the way down to the sub-base layer underneath.
Now, if you're just resurfacing, the process is a bit easier. A milling machine shaves off the top 1.5 to 3 inches of the old asphalt. This does two things: it removes the damaged surface and creates a perfect, rough base for the new layer to stick to.
This step cannot be skipped. Paving over a failing foundation is like putting a new roof on a house with crumbling walls. You’re just hiding a much bigger problem that will eventually ruin the new work.
Step 2: Grading and Preparing the Foundation
With the old pavement gone, all attention turns to the foundation. This is the most important part of the entire asphalt paving & resurfacing process. A weak or poorly prepared base means that even the best asphalt mix will fail early.
Our crews use special equipment to grade the sub-base, which is the layer of soil and rock that supports everything. This involves two key actions:
- Creating the Correct Slope: We carefully shape the surface to make sure water has a clear path to run off into drains. Standing water is asphalt's worst enemy and leads to cracks and potholes.
- Compacting the Base: Heavy rollers are used to pack down the rock, creating a dense, solid platform. This is what gives the pavement its strength to handle traffic and not shift over time.
This foundation work is what makes the difference between a 5-year parking lot and a 20-year one. To see how we build that strength from the ground up, take a look at our professional grading and paving services.
Step 3: Applying the Asphalt Layers
Once the base is solid, it's finally time for the blacktop. But we don't just dump it all on at once. Hot mix asphalt is laid in at least two separate layers, each with a specific job.
First is the binder course. This is a rough, strong layer made with larger rocks. It's the structural workhorse of the pavement, designed to be very strong and spread the weight of vehicles across the sub-base.
On top of that comes the surface course. This top coat uses a mix with smaller rocks, which gives it that classic smooth, dense finish. It provides a quiet driving surface and also acts as a shield, sealing the binder layer from water, sun, and oil spills.
The two-layer system is just smart engineering. The binder provides the strength, while the surface layer delivers the smooth finish and long-term durability. It’s a combination that’s built to last.
Step 4: Compaction and Finishing Touches
The last big step is also the one most people recognize: compaction. As soon as the paving machine lays down the hot asphalt, heavy rollers immediately start to press it down. This isn't just for show; it's very important.
Proper compaction squeezes out air pockets, making the asphalt much denser and stronger. It also locks the rock and binder together, creating a smooth, seamless surface. The crews follow a careful rolling pattern to make sure every square inch is perfectly compacted for a flawless finish.
Even after the rollers are done, there are a few finishing touches:
- Joints and Transitions: We make sure the new pavement meets up perfectly with other surfaces like concrete walkways or garage floors, creating a smooth, safe edge.
- Surface Testing: We double-check the smoothness and slope to make sure everything meets the project plans and allows for good drainage.
- Cleanup: Our team cleans the site completely, leaving you with nothing but a perfect new surface ready to cure.
From the start to the final roll, every stage of the asphalt paving & resurfacing process is a key part of the chain, all working together to create a product that is both beautiful and strong.
What Factors Influence Your Project's Cost?
Every property owner wants to know two things first: "How much will this cost?" and "How long will it take?" Understanding the key things that affect the budget is the first step to getting a realistic idea and planning a successful project. The final price for paving or resurfacing isn’t just one number—it’s a mix of several important factors.
Just as no two properties are the same, no two paving jobs have the exact same price. A small driveway with a solid foundation is very different from a large commercial parking lot that needs to be torn up and completely rebuilt.
Let's break down what really changes the final price on your quote.
The Scope of the Work
The most obvious cost factor is size. More square footage means more materials, more work hours, and more time on site. That’s the starting point for any estimate.
But size is just one part of it. The condition of your existing surface is a huge factor. A simple resurfacing job, where we lay a fresh layer of asphalt over a stable base, costs much less than a full replacement. That bigger job involves the hard work of tearing out the old, failed asphalt and rebuilding the whole foundation.
Think of it this way: a project needing serious foundation repair is like major surgery. A simple resurfacing is more like putting on a protective cast. The amount of work needed has a direct impact on the final cost and timeline.
Material and Labor Considerations
The price of hot mix asphalt can change depending on local supply and the cost of oil. The thickness of the asphalt also makes a difference. A commercial lot built to handle heavy trucks needs a much thicker pavement structure than a normal driveway, and that extra material adds to the cost.
The layout of the site matters, too. A wide-open, easily accessible lot lets our crews and equipment move around easily, which keeps labor costs down. On the other hand, a tight, hard-to-reach area might mean we have to use smaller machines and more manual labor, which can increase both the time and cost.
Site Preparation and Complexity
A lot of the cost can be in the prep work that has to happen before any new asphalt is laid. This can include:
- Demolition and Removal: The cost of breaking up and hauling away old, cracked asphalt.
- Grading and Drainage: If your property has standing water, we have to fix the slope to make sure water drains properly. It's a key step but adds to the budget.
- Sub-base Repair: Fixing a weak or unstable foundation is an investment you have to make. Skipping it just means the new surface will fail early.
It's also worth noting that a professional company’s costs, like following relevant DOT regulations for dump trucks, are part of the price. You don't want to cut corners on these things—they make sure the job is done safely and correctly. For more details on home project costs, check out our guide on what goes into asphalt driveway costs.
The special equipment used in our industry is a huge investment. The global market for asphalt pavers was recently valued at around $2.42 billion and is growing. This just shows how important it is to have professional, well-kept equipment to deliver a high-quality, lasting result.
In the end, a good contractor gives you a detailed, clear estimate that includes all these factors. This way, there are no surprises, and you know you’re getting a quality surface built to provide real value for years.
How to Protect Your New Asphalt Investment
Putting in a new asphalt surface is a big investment in your property. Just like a new roof, it needs regular care to look good and last as long as it should. The good news is that a simple maintenance plan can easily add years to the life of your driveway or parking lot. This protects your investment and keeps your property looking great.
Think of it like a new car. When it's new, the paint is shiny and perfect. But if you let it sit out in the sun, rain, and dirt without a wash or a coat of wax, it won’t take long for it to look dull and worn. Your pavement is no different.
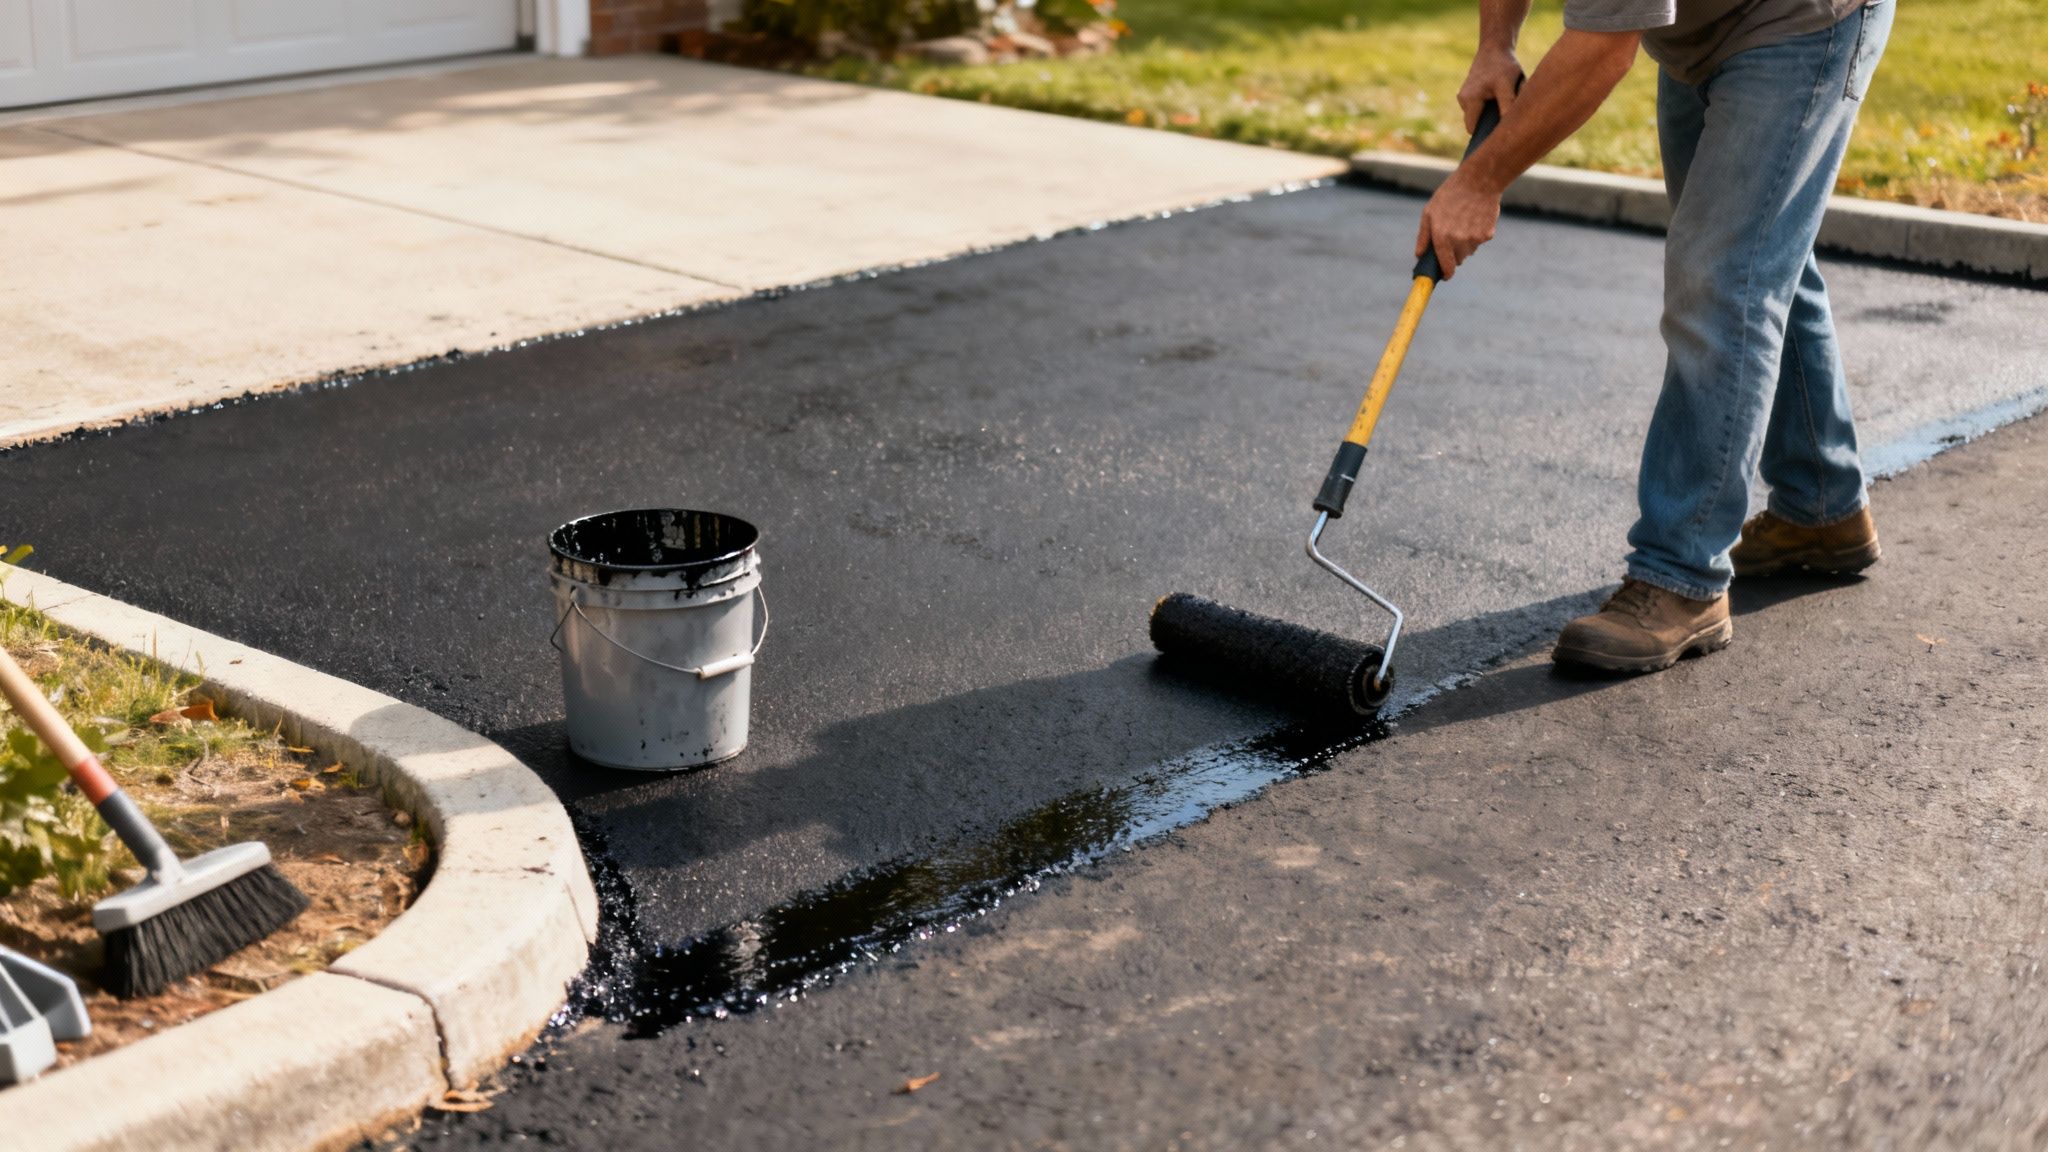
Simple habits, like sweeping away debris and filling tiny cracks before they grow, are the foundation of smart asphalt care.
Why Proactive Maintenance Matters
When it comes to asphalt, being proactive is everything. Catching small issues early stops them from becoming big, expensive problems. A tiny crack might seem harmless, but it’s an open door for water to get into the foundation. Once that water freezes and expands, a small crack can turn into a big pothole.
This "ounce of prevention" approach is much cheaper than waiting for a major failure. The materials used for asphalt paving & resurfacing are in high demand all over the world. A few years ago, the demand for asphalt (bitumen) was around 128 million metric tons. That number is expected to hit nearly 150 million metric tons within five years. This shows how much road work is happening.
By maintaining your surface, you’re protecting the valuable materials already there and making them last as long as possible. For more specific ideas, our guide to commercial parking lot maintenance is full of helpful tips.
The Power of Sealcoating
If there’s one secret weapon in asphalt maintenance, it’s sealcoating. Think of it as sunscreen for your pavement. It's a protective liquid layer that shields the surface from its biggest enemies.
Sealcoating creates a tough barrier against several damaging things:
- UV Rays: The sun's rays break down the asphalt binder, making it brittle and easy to crack. Sealcoating blocks this damage.
- Water: By sealing the asphalt's surface, it stops water from getting in and turning the foundation into a soft, weak mess.
- Vehicle Fluids: Oil, gasoline, and other chemicals can dissolve the asphalt. A quality sealcoat resists these spills and protects the pavement underneath.
Sealcoating is one of the most cost-effective things you can do. A small investment in regular sealing every 2-4 years can delay the need for a costly resurfacing or a complete replacement by a decade or more.
Your Simple Seasonal Maintenance Checklist
Staying on top of maintenance is easy when you break it down by season. Here’s a simple checklist to keep you on track and help you spot problems before they get out of hand.
Spring:
- Deep Clean: After winter, give your pavement a good sweep or a gentle power wash. Get rid of all the sand, salt, and dirt that built up.
- Walk-Through Inspection: Walk over the entire surface. Look for any new cracks, crumbling areas, or low spots that may have formed.
- Fill Cracks: Fill any cracks you find right away. This stops the spring rains from getting into the base and causing more damage.
Summer:
- Weed Patrol: Pull or treat any weeds you see growing in cracks. Their roots can push cracks wider over time.
- Spot Treatment: Clean up any oil or fluid spills as soon as you see them. The summer heat can make the damage happen faster.
- Schedule Sealcoating: Summer is the perfect time for sealcoating. The warm, dry weather is what the sealant needs to cure and form a strong, protective layer.
Fall:
- Final Sweep: Before the wet weather starts, clear off all the fallen leaves and debris. Piles of wet leaves can leave stains and hide problems.
- Last-Chance Repairs: Do one final check for cracks and fill them. This is your last chance to seal everything up before winter’s damaging freeze-thaw cycles begin.
By following these simple steps, you’re not just doing maintenance—you’re protecting the value, safety, and look of your property for years to come.
Understanding ADA and Local Paving Regulations
For commercial properties, an asphalt project is more than just laying down a smooth, black surface. It’s about creating a space that’s safe and accessible for everyone who visits your business. Getting this wrong can lead to large fines and, more importantly, can keep some people from visiting.
This is where the Americans with Disabilities Act (ADA) comes in. These are federal laws that require equal access for people with disabilities. A truly professional paving job includes these rules in the plan from the very beginning.
Core ADA Parking Lot Requirements
At first, ADA rules can seem complicated. But they really come down to a few key things designed to ensure a safe and clear path from a person’s car to your front door. Any contractor doing your asphalt paving & resurfacing has to get these right.
Here are the key things to look for:
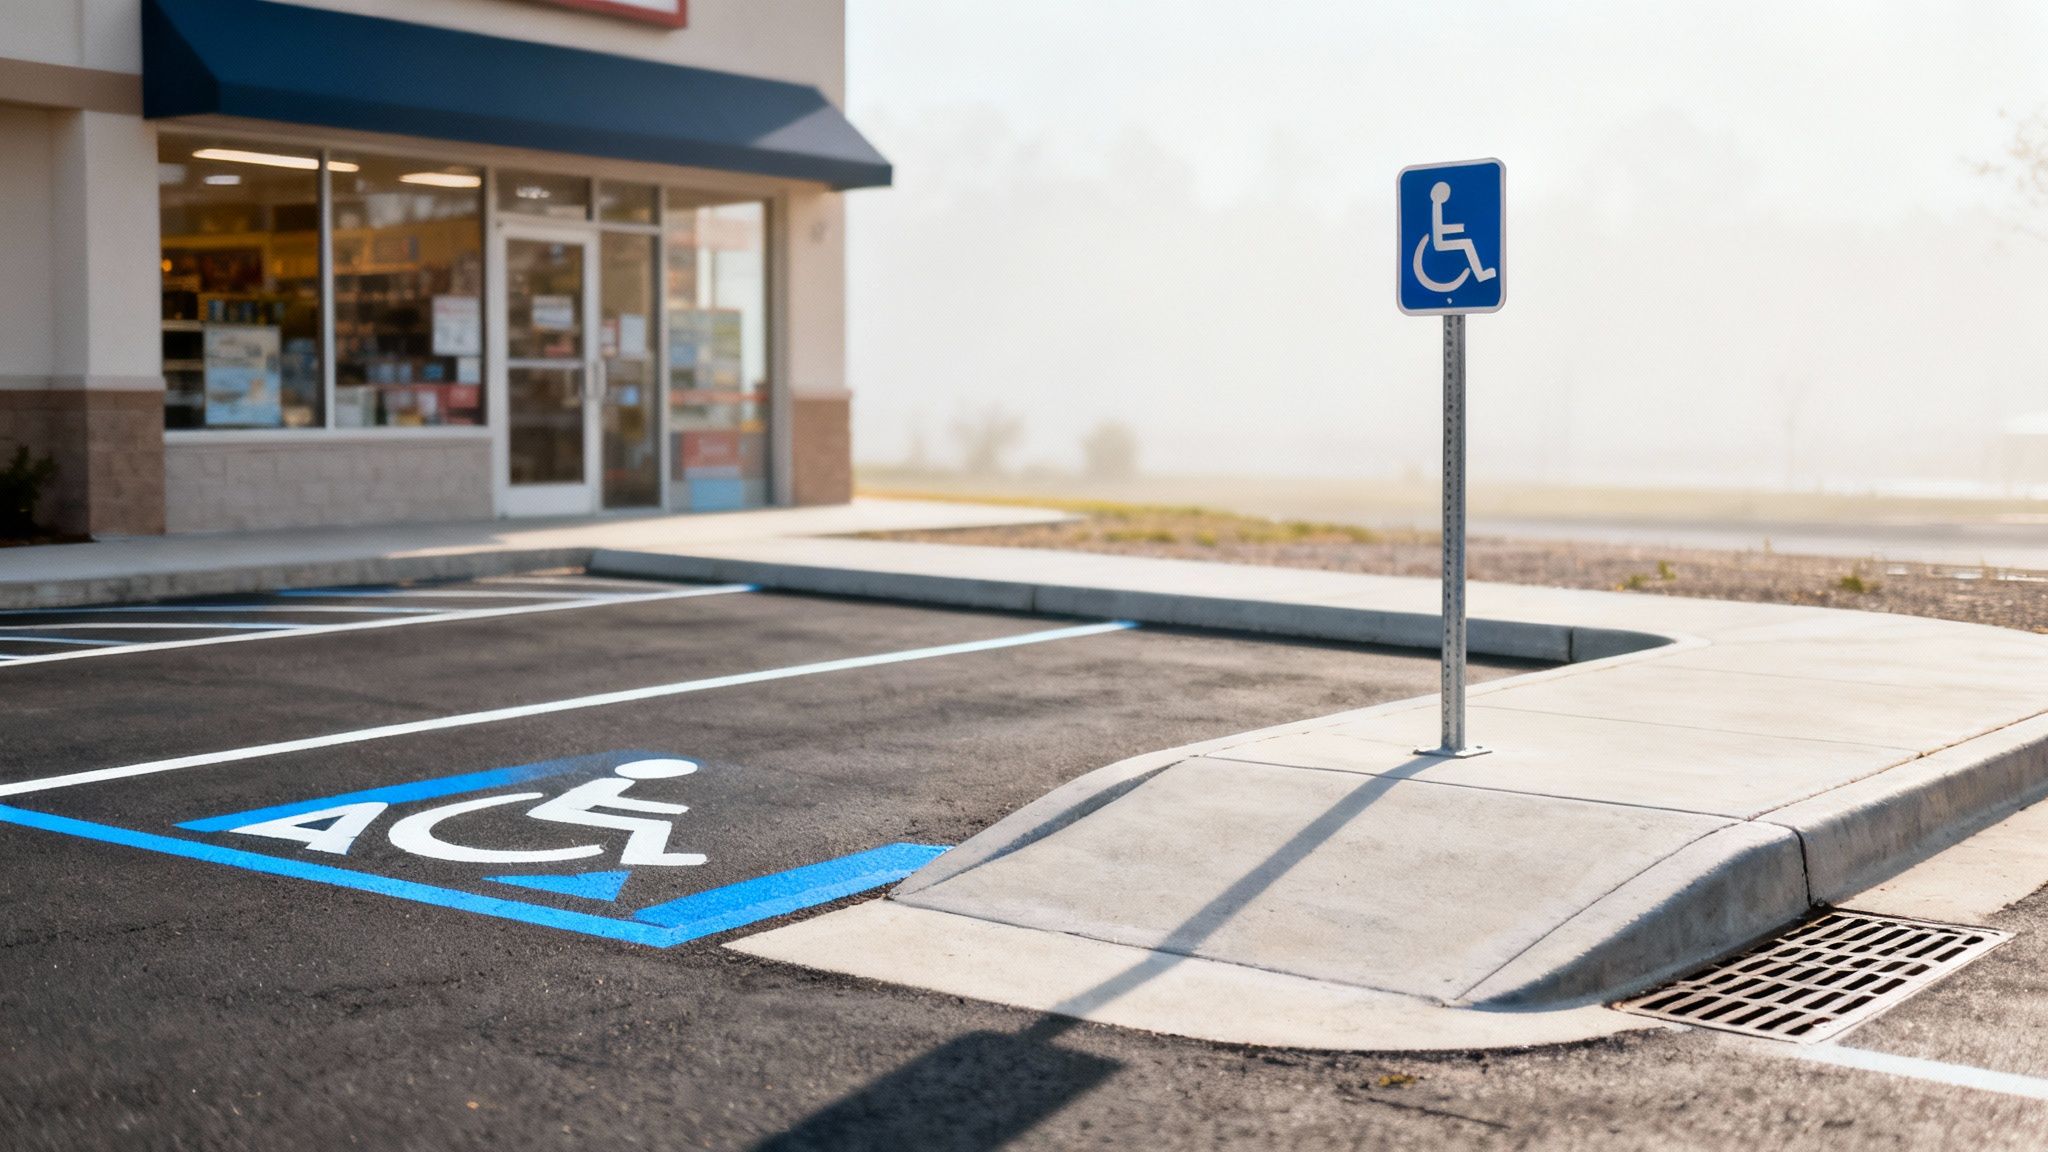
- Accessible Parking Spaces: The law states the minimum number of accessible spots you need based on your lot's total size. For example, a lot with 1 to 25 spaces must have at least one accessible spot.
- Proper Signage: Every accessible space needs to be clearly marked with the International Symbol of Accessibility. In California, you'll also see extra signs warning of fines for improper use.
- Safe Dimensions: A standard accessible car space needs to be at least 8 feet wide. It must also have an access aisle next to it that’s at least 5 feet wide to allow room for wheelchair lifts and ramps.
- Correct Slope: This is a big one. The parking space and the access aisle cannot have a slope steeper than 2% in any direction. This is a safety rule to keep wheelchairs from rolling and to provide a stable surface.
Van-Accessible Spaces and Pathways
The ADA also has rules for van-accessible spaces, which are needed for vehicles with side-mounted lifts. These are wider and need an access aisle that is a full 8 feet wide. For every six accessible parking spaces, at least one has to be van-accessible.
The main goal of ADA rules is to create a clear "path of travel." This means there must be a safe, open route from the parking lot, across the access aisle, up a curb ramp, and straight to the entrance of your building.
This entire path needs to be free of dangers and have the correct slope. To learn all the details, check out our guide to ADA handicap parking requirements for California properties. For any business owner, knowing these details is very important.
Local Rules for Drainage and Permits
While the ADA sets the federal standard, you can't forget about city and county rules. Local rules often focus on environmental issues and public safety, with water management being a top concern.
Almost every city has strict rules about stormwater runoff. Your new pavement must be designed to direct rainwater into proper storm drains. This prevents it from flooding other properties or flowing into protected areas. This usually involves careful grading and sometimes requires installing drains.
On top of that, any large paving job will almost certainly require a permit. This makes sure the project is inspected and meets all local building codes. An experienced local contractor will know exactly how to handle this process for you.
Your Asphalt Project Questions, Answered
We've covered the what and the how of paving and resurfacing. But this is usually when the real-world questions start coming up. It's one thing to understand the process, and another to know what it means for your property day-to-day.
Let's look at some of the most common questions we hear from property owners like you. Getting these details sorted out ahead of time makes the whole project go much smoother.
How Long Before I Can Use My New Asphalt Surface?
This is the big one! You need your parking lot or driveway back in use as soon as possible.
As a general rule, plan on keeping traffic off the new surface for at least 24 to 72 hours. That first period is very important. It gives the asphalt enough time to cool and harden. This way, it can resist tire marks, scuffs from sharp turns, and dents from parked cars.
But that's just a starting point. The real cure time depends on a few things:
- The Weather: Asphalt actually sets up faster on cool, cloudy days. A very hot sun will keep the surface soft for longer, so you might need to wait an extra day or two.
- Asphalt Thickness: A heavy-duty commercial lot with a thick layer of asphalt will hold heat much longer than a thin driveway. More thickness means you need more patience.
- The Type of Traffic: After about 3 days, regular cars are usually fine. But for heavy things—like delivery trucks, RVs, or trash trucks—I always recommend waiting at least a full week, or even longer, to be safe.
A little patience in those first few days pays off for years. Using the surface too soon is the quickest way to damage a beautiful, brand-new surface, and that kind of damage is often permanent.
What Is the Best Time of Year for Paving?
When it comes to asphalt, timing is everything. The best time for paving or resurfacing is during the warmer, drier months. On the Central Coast, that usually means from late spring through early fall.
There's a simple reason for this: temperature. Hot mix asphalt is made in a plant at temperatures between 275°F and 325°F. The clock starts ticking the second it leaves the plant. It has to be graded, laid down, and packed down while it's still hot enough for the materials to lock together.
Trying to pave when it's cold (below 50°F) is a recipe for a weak surface. The mix cools off too fast, making it almost impossible for the rollers to pack it down right. You end up with a pavement that looks okay but is full of tiny air pockets, which leads to early cracking and a much shorter life. Rain is also a problem, as it stops the new asphalt from sticking to the base below.
How Often Should I Sealcoat My Asphalt?
Think of sealcoating as sunscreen for your pavement. It’s the most important maintenance you can do to protect your investment and make it last as long as possible.
For a new surface, you'll want to wait a bit. The first sealcoat should be applied about 6 to 12 months after the paving is done. This allows the oils in the fresh asphalt to fully cure.
After that first time, it's all about a regular schedule. A good rule of thumb is to reseal your asphalt every 2 to 4 years. Where you fall in that range depends on traffic and sun. A busy commercial lot will probably need it closer to every two years, while a shaded driveway could easily go four years. It's a small, smart expense that saves you from huge repair bills down the road.
Ready to get answers for your specific property? The team at Coastal Pipeline Inc. has the experience to guide you through every step, from the first look at your site to the final sign-off. We're here to make sure your paving project is a lasting success. For a professional consultation and a clear path forward, visit us at https://coastalpipelineinc.com.